Assembly_tutoria
Document:
Overview
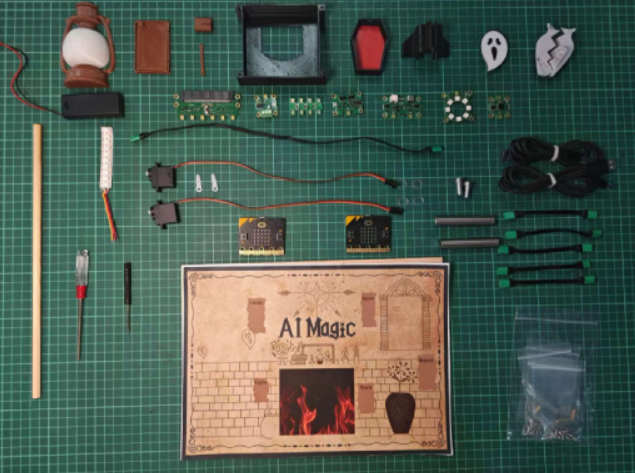
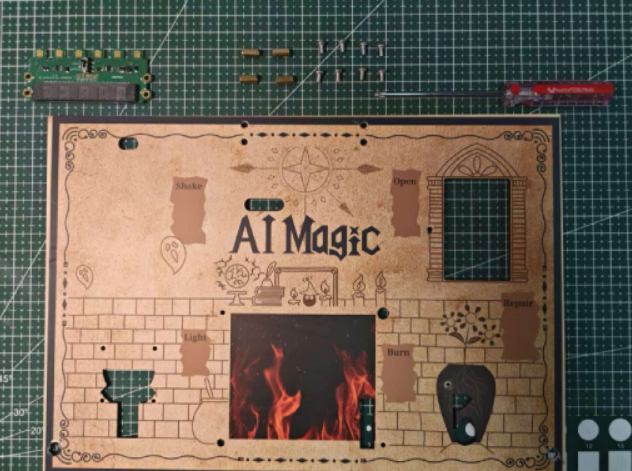
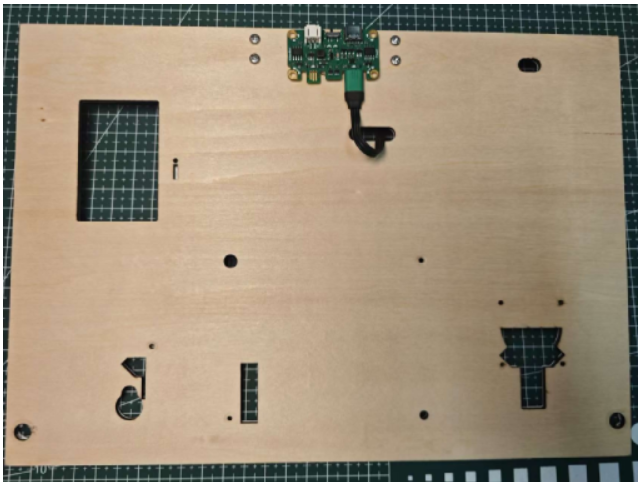
Parts Overview Baseplate Installation
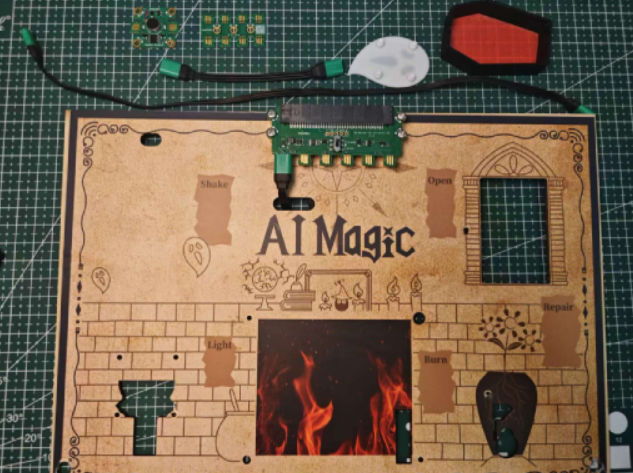
Sticker

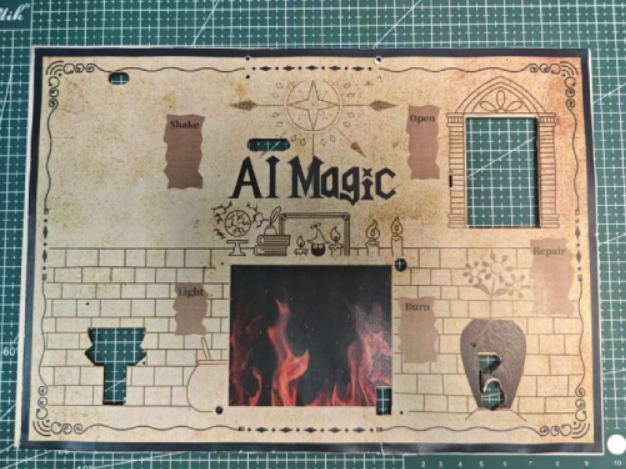
Tear off the unnecessary parts of the sticker.
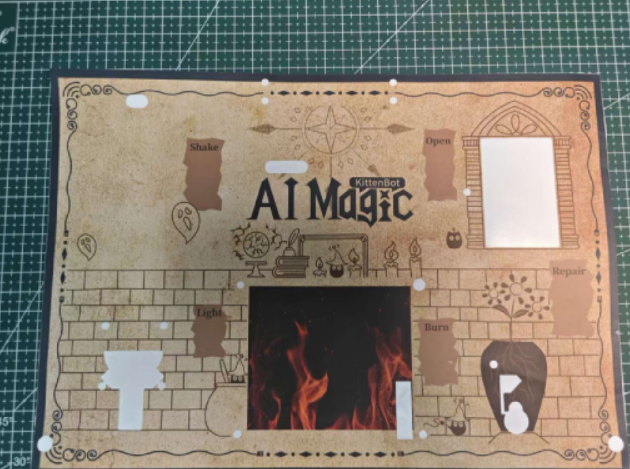
Paste the prepared sticker onto the wooden board.
Functional Module Installation
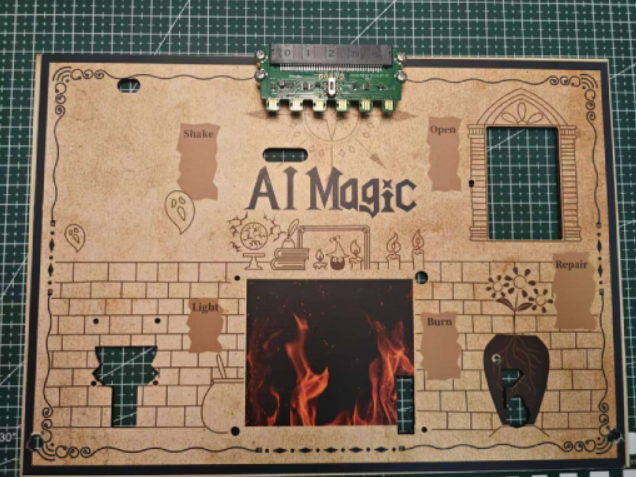
Jacdapyor Module Installation
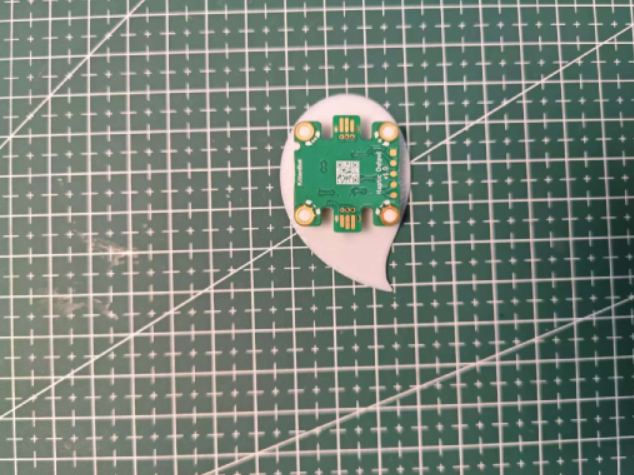
Parts Preparation Jacdapyor
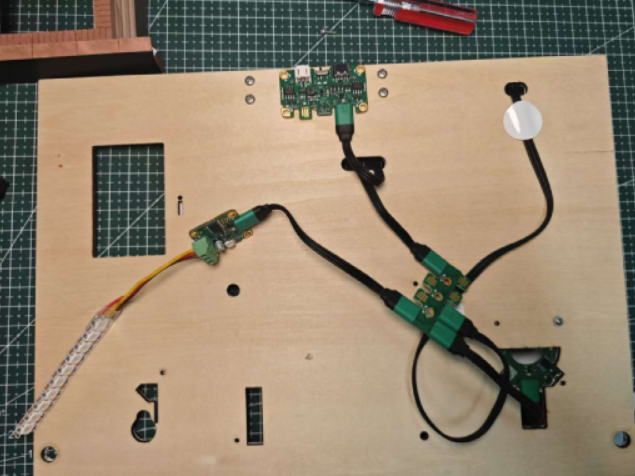
Installation Steps Secure the Jacdapyor using screws and brass standoffs.
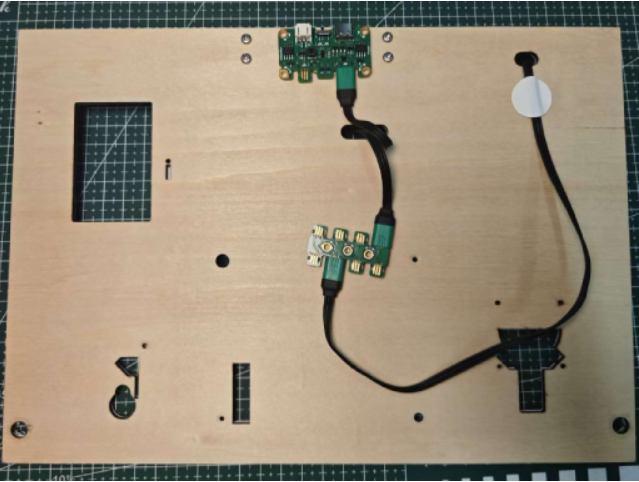
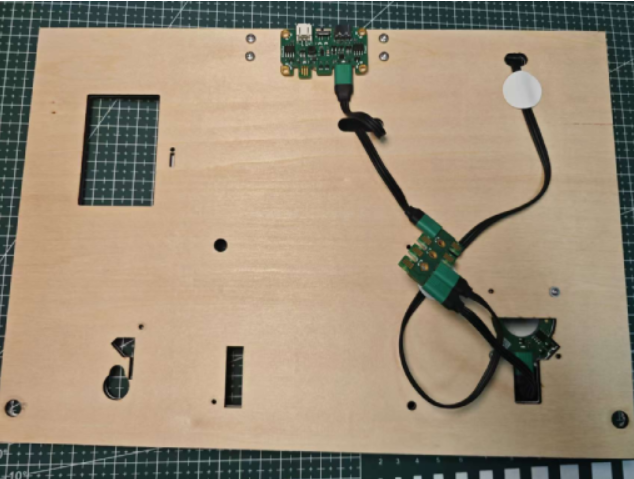
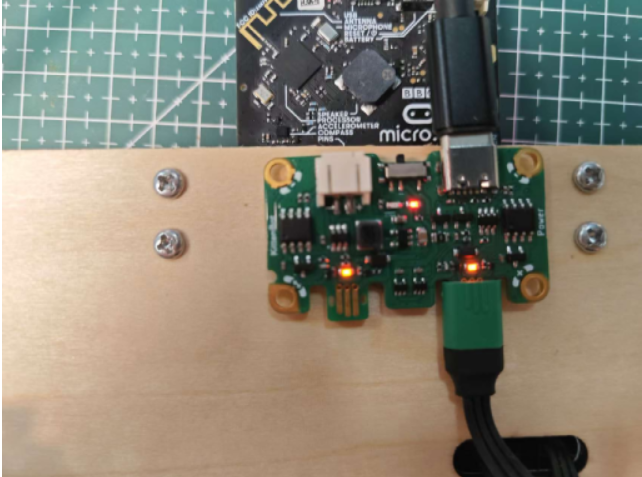
Power Mainboard Installation
Parts Preparation Power Module
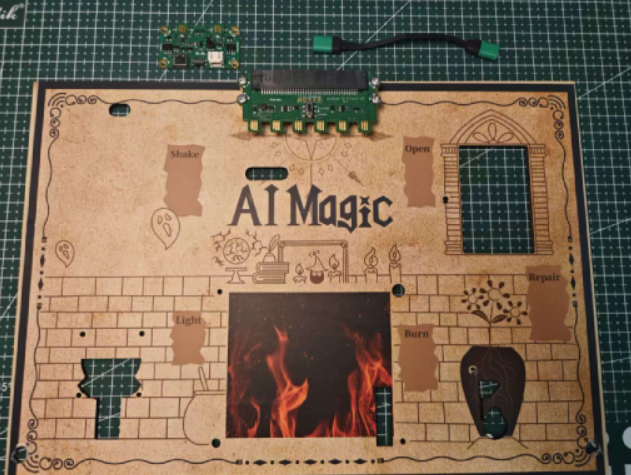
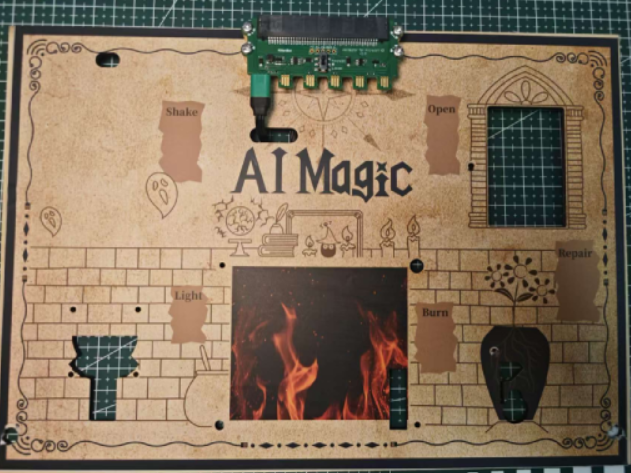
Installation Steps Plug the power cable into the first pin on the left side of the base. Use glue to fix the power module to the wooden board, then connect it to the Jacdapyor.
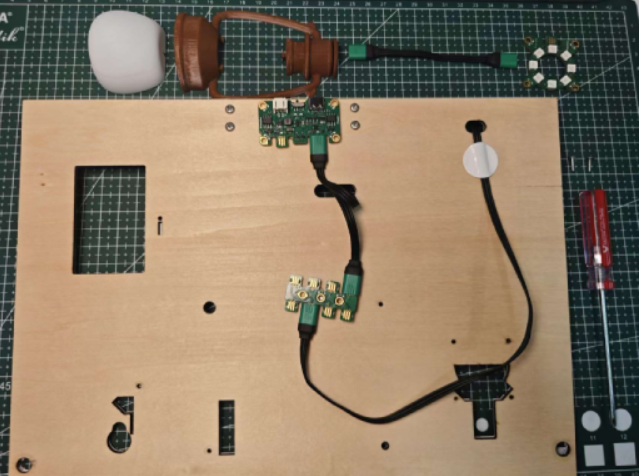
Haptic Module Installation
Parts Preparation Hub Module, Haptic Module
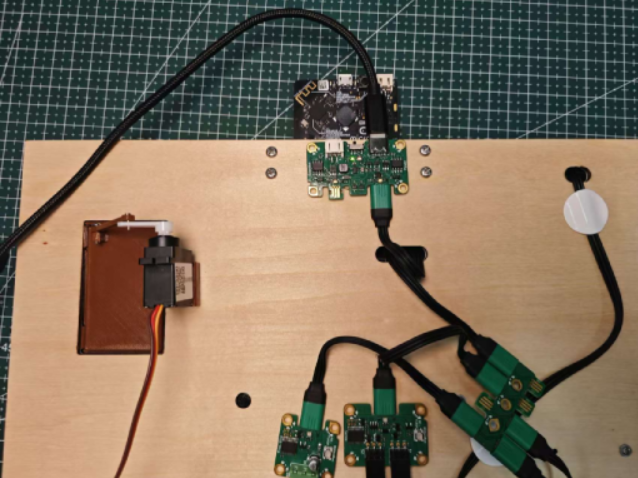
Installation Steps Wiring
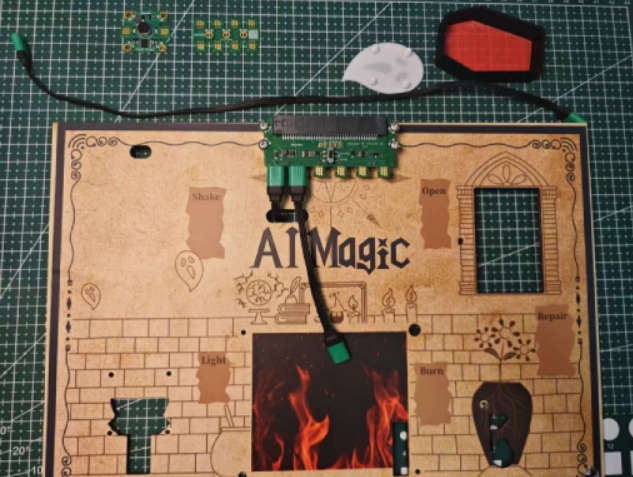
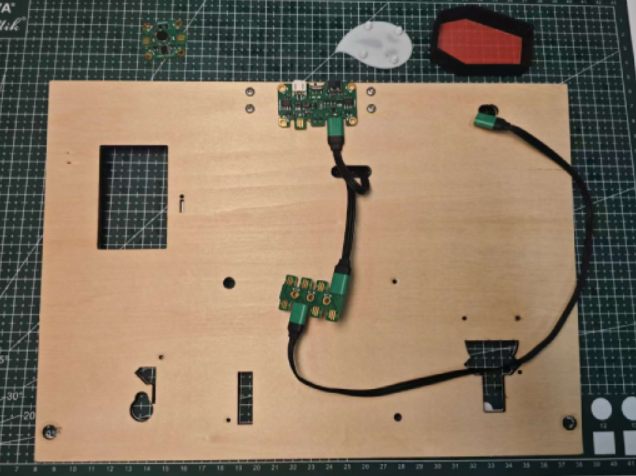
Use glue to secure the wires.
Do not attach the ghost too close to the oil lamp; keeping it a bit above the lamp will result in better vibration effects.
RGB Ring Module
Parts Preparation RGB Ring Module
Installation Steps
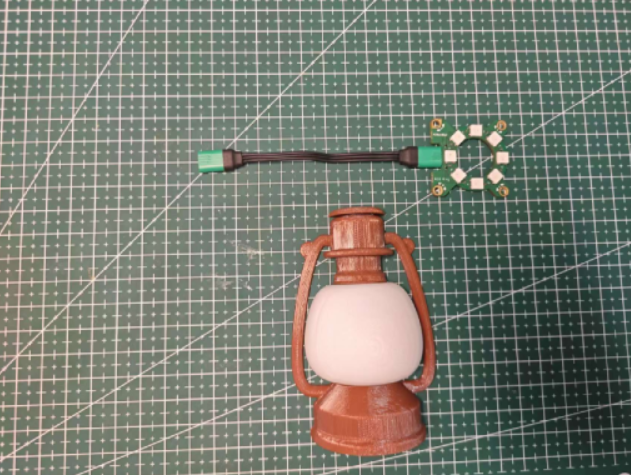
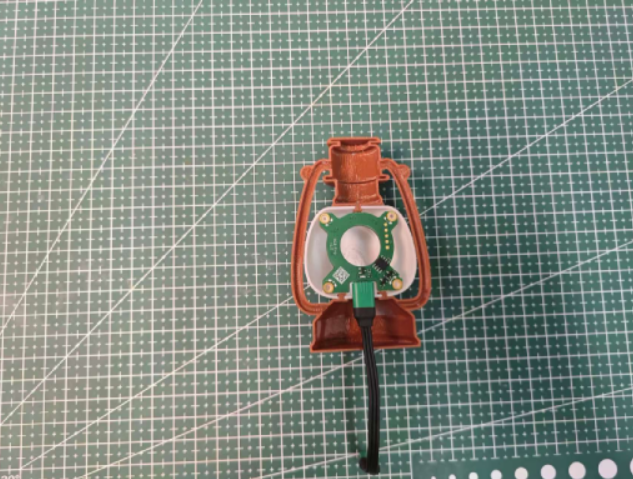
After wiring, use screws to fix the 3D printed part to the wooden board.
RGB Strip Module
Parts Preparation RGB Strip Module
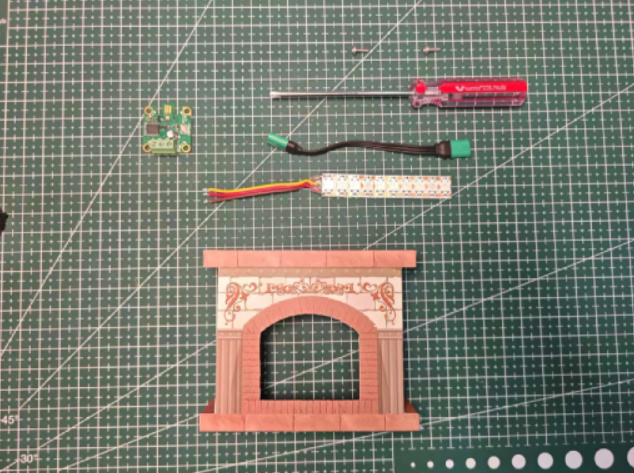
Installation Steps Wiring Method
Use screws to fix the fireplace 3D printed part to the wooden board.

Paste the RGB light strip inside the fireplace.
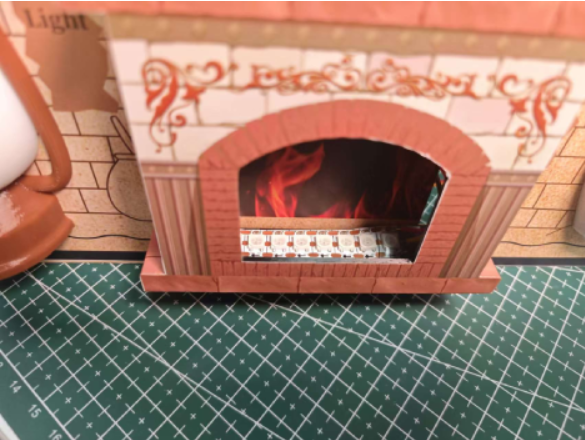
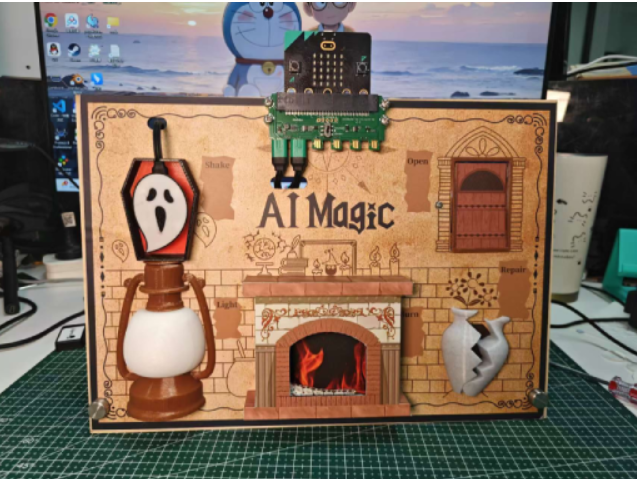
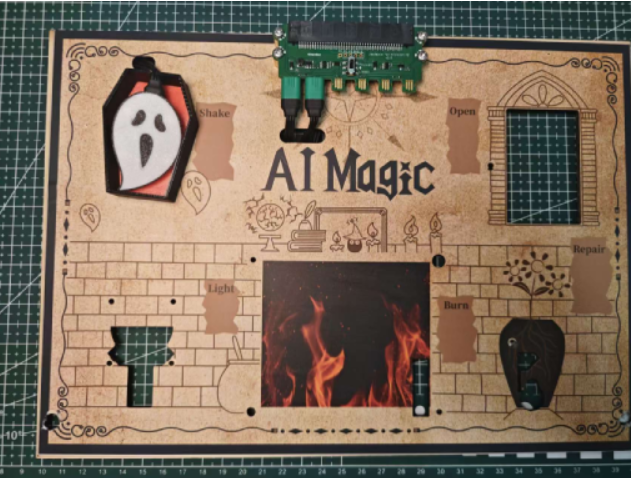
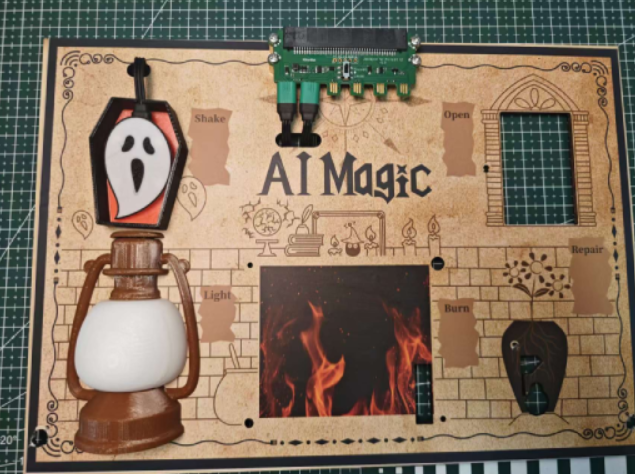
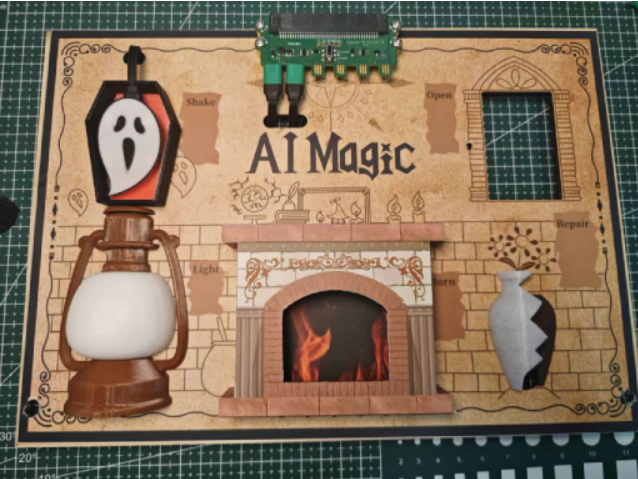
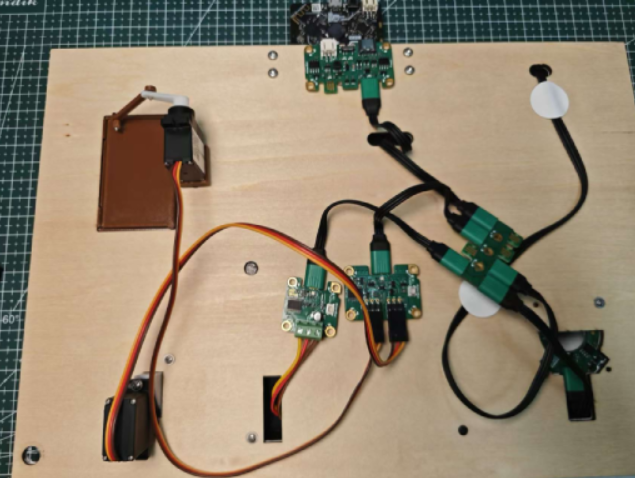
Front View Schematic
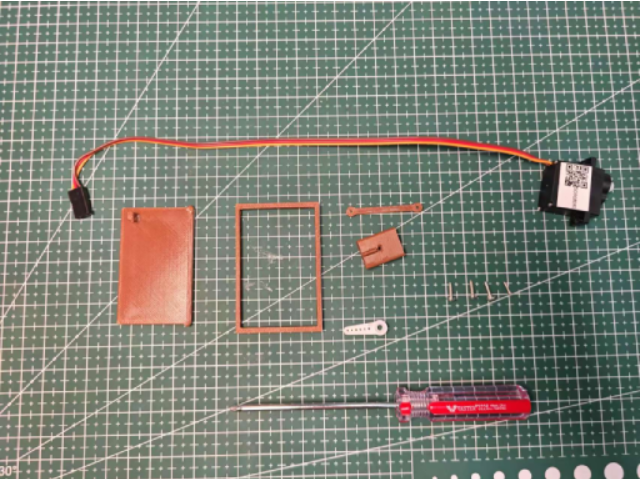
Vase Installation
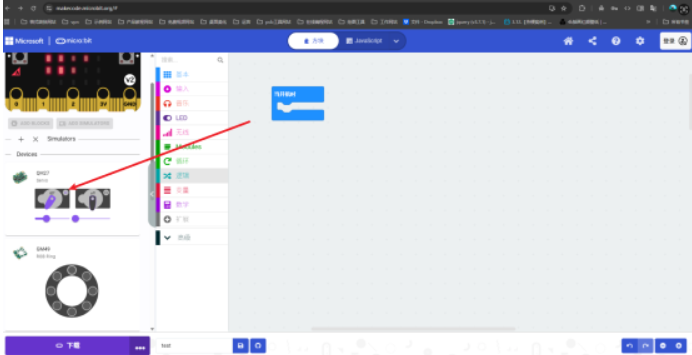
Parts Preparation Servo Module
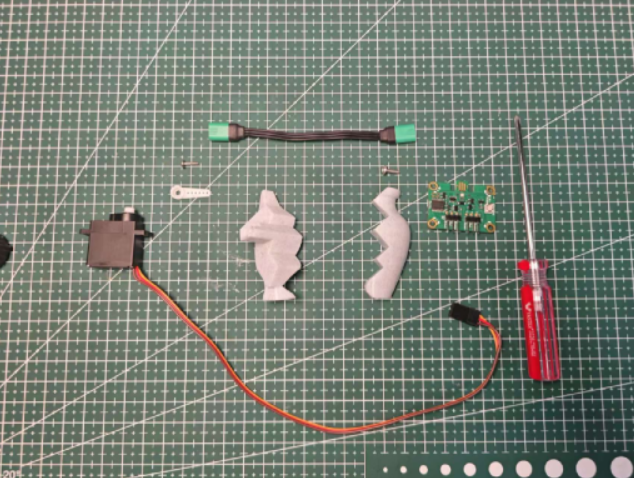
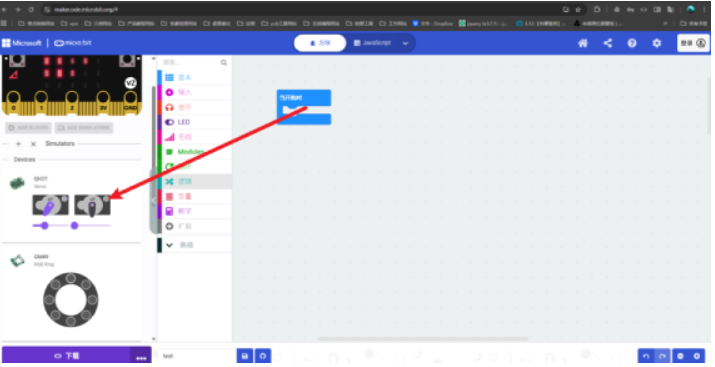
Installation Steps

Press the power button to initialize the servo angle, controlling the angle for the vase breaking and repairing states.
:::warning
The power module must be powered before initializing the servo.
Turn on the power switch.
:::
Magic Door Module Installation
Parts Preparation
Installation Steps
- danger
The steps for initializing the servo angle for the Magic Door are the same as for the Vase module. Control the angle for opening and closing the door.
:::
Use screws to fix the servo and the 3D printed part.
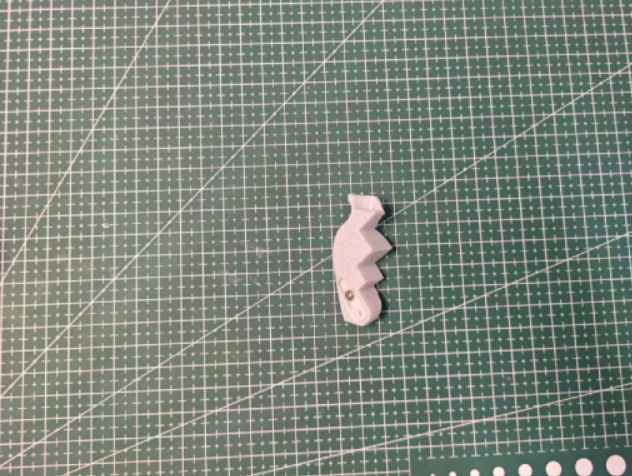
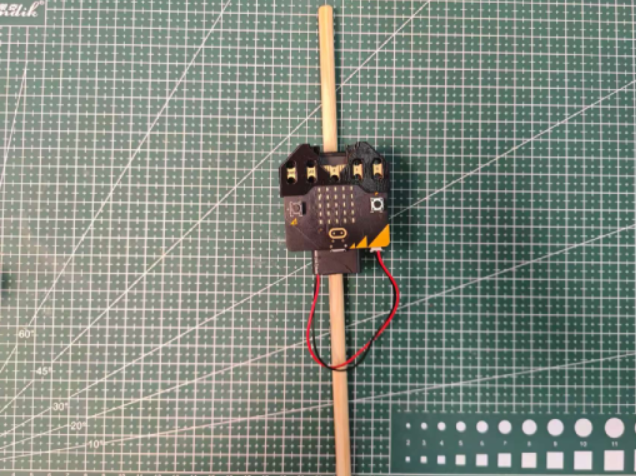
Magic Wand Installation
Parts Preparation

Installation Steps
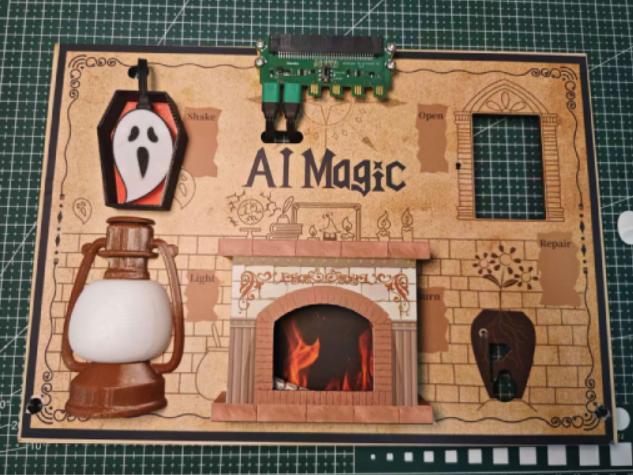
Finished Product Showcase